Written by Rick Bickling
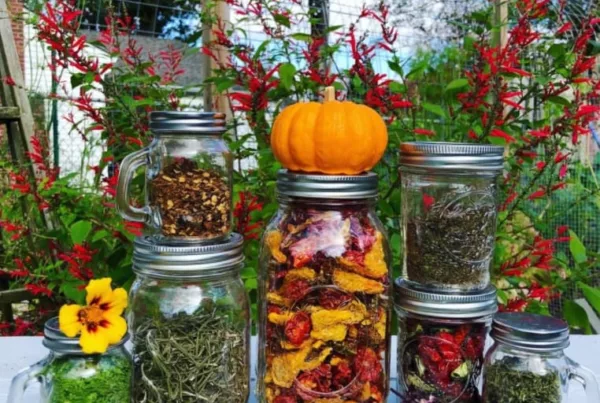
Square Foot Gardening is fun and rewarding from start to finish. And, probably the most fun and rewarding time you’ll spend in your garden is when you’re harvesting some of the delicious crops that you’ve planted and nurtured. But once you’ve harvested your crops, you want to be sure that you’re able to safely store and protect what you don’t eat right away. Harvested fruits and vegetables continue to ripen even after being picked, so there should always be two main goals when storing your produce. Safety is first; the prevention of foodborne illness caused by bacteria or virus should always be your primary consideration. By preventing spoilage and slowing the ripening process, the longevity of your stored harvest can be maximized.  The proper storing of crops actually begins during the harvest. Always harvest when the crop is at peak maturity. Harvest early in the morning when fruits and vegetables contain the most moisture and flavor. And, be sure to discard any produce that shows signs of damage, decay, or rot or better yet, add it to your compost pile. In the Square Foot Gardening Book “Growing Perfect Vegetables” we give you a visual guide to peak harvest and extending ripeness. Storage can be classified as either long-term, or short-term. Some types of long-term storage are freezing, canning, and dehydrating. Each of these methods involves detailed procedures and is beyond the scope of this article. Let’s focus on short-term storage which, depending on the fruit or vegetable being stored, will take place either in the refrigerator or at room temperature.
Handy Tip:
Most produce should not be washed to help prevent mold. If produce requires rinsing, make sure to thoroughly dry before storing.
Keep your refrigerator set to 40° F or lower and make sure it’s clean, and free of decaying produce. Use plastic bags or clean air-tight containers and place them in the produce, or crisper, section of your refrigerator. Don’t place heavy items on top of stored produce and regularly check for and discard any spoiled or moldy item. No matter the fruit or vegetable, once it has been cut or peeled, it should always be refrigerated within 2 hours.
Produce stored outside of the refrigerator such as onions, garlic or potatoes should be kept in a dry, dark, cool place that is between 50° to 70° F. This area should be clean and pest free, away from cleaning products or heat sources such as an oven, hot water pipes, water heater, and sunlight. Use uncovered bowls, bins, or mesh bags that are off the floor. Check stored items regularly and throw out any spoiled or moldy items. When in doubt, throw it out, or compost it!
Let’s take a look at some popular vegetable storage recommendations:
| Produce | Storage Recommendation |
|---|---|
| Beans | Refrigerator in open plastic bag up to 4 days. Best to blanch or steam first then put in plastic container with lid. Will last 7-14 days if cooked. |
| Broccoli | Refrigerator in loose plastic for up to 3 – 5 days, but flavor is best when eaten immediately. |
| Celery | Refrigerator in loose plastic bag in bunch (not single stalks) for 5-7 days. |
| Cucumber | Refrigerator in loose plastic bag for 5-7 days. |
| Eggplant | Refrigerator – Rinse, pat dry, uncut – 5-7 days, if cut – wrap in plastic wrap, will last up to 3 days. |
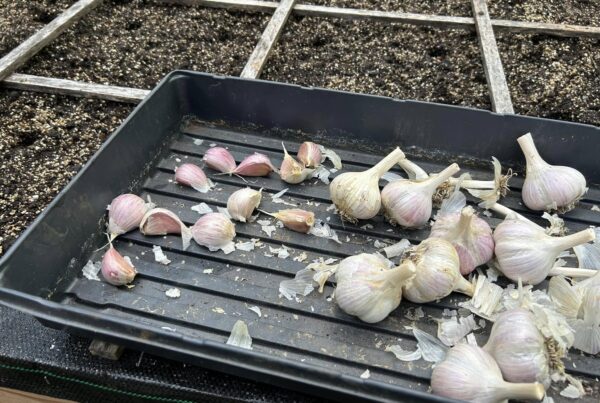
| Garlic | Cool, dry, dark place for about 4 months. |
| Melons | Refrigerator uncut up to 7 days, if cut – wrap tightly in plastic wrap, will last up to 3 days. |
| Onions | Cool, dry, dark place for up to 6 months. |
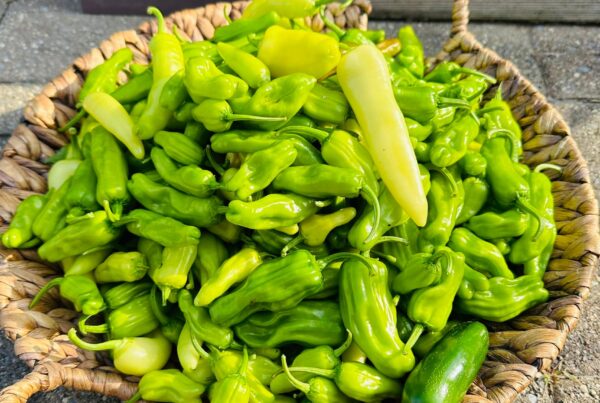
| Peppers | Refrigerator in loose plastic bag for up to 7 days for Bells. |
| Potatoes | Cool, dry, dark place, paper bag ok. Up to 1 month. |
| Winter Squash | Cool, dry, dark place up to 1 month. |
| Tomatoes Clearrr | Countertop for up to 2 days, keep out of direct sun. Avoid tomatoes touching one another. |
| Zucchini | Refrigerator in loose plastic bag for about 1 week. |
You’ve put a lot of time into growing your own food. By properly storing your harvest, you can ensure you will safely enjoy every last bit of it. Want more on how to store to extend ripeness? Check our book “Growing Perfect Vegetables” for tips on harvesting and storing your precious produce.
